
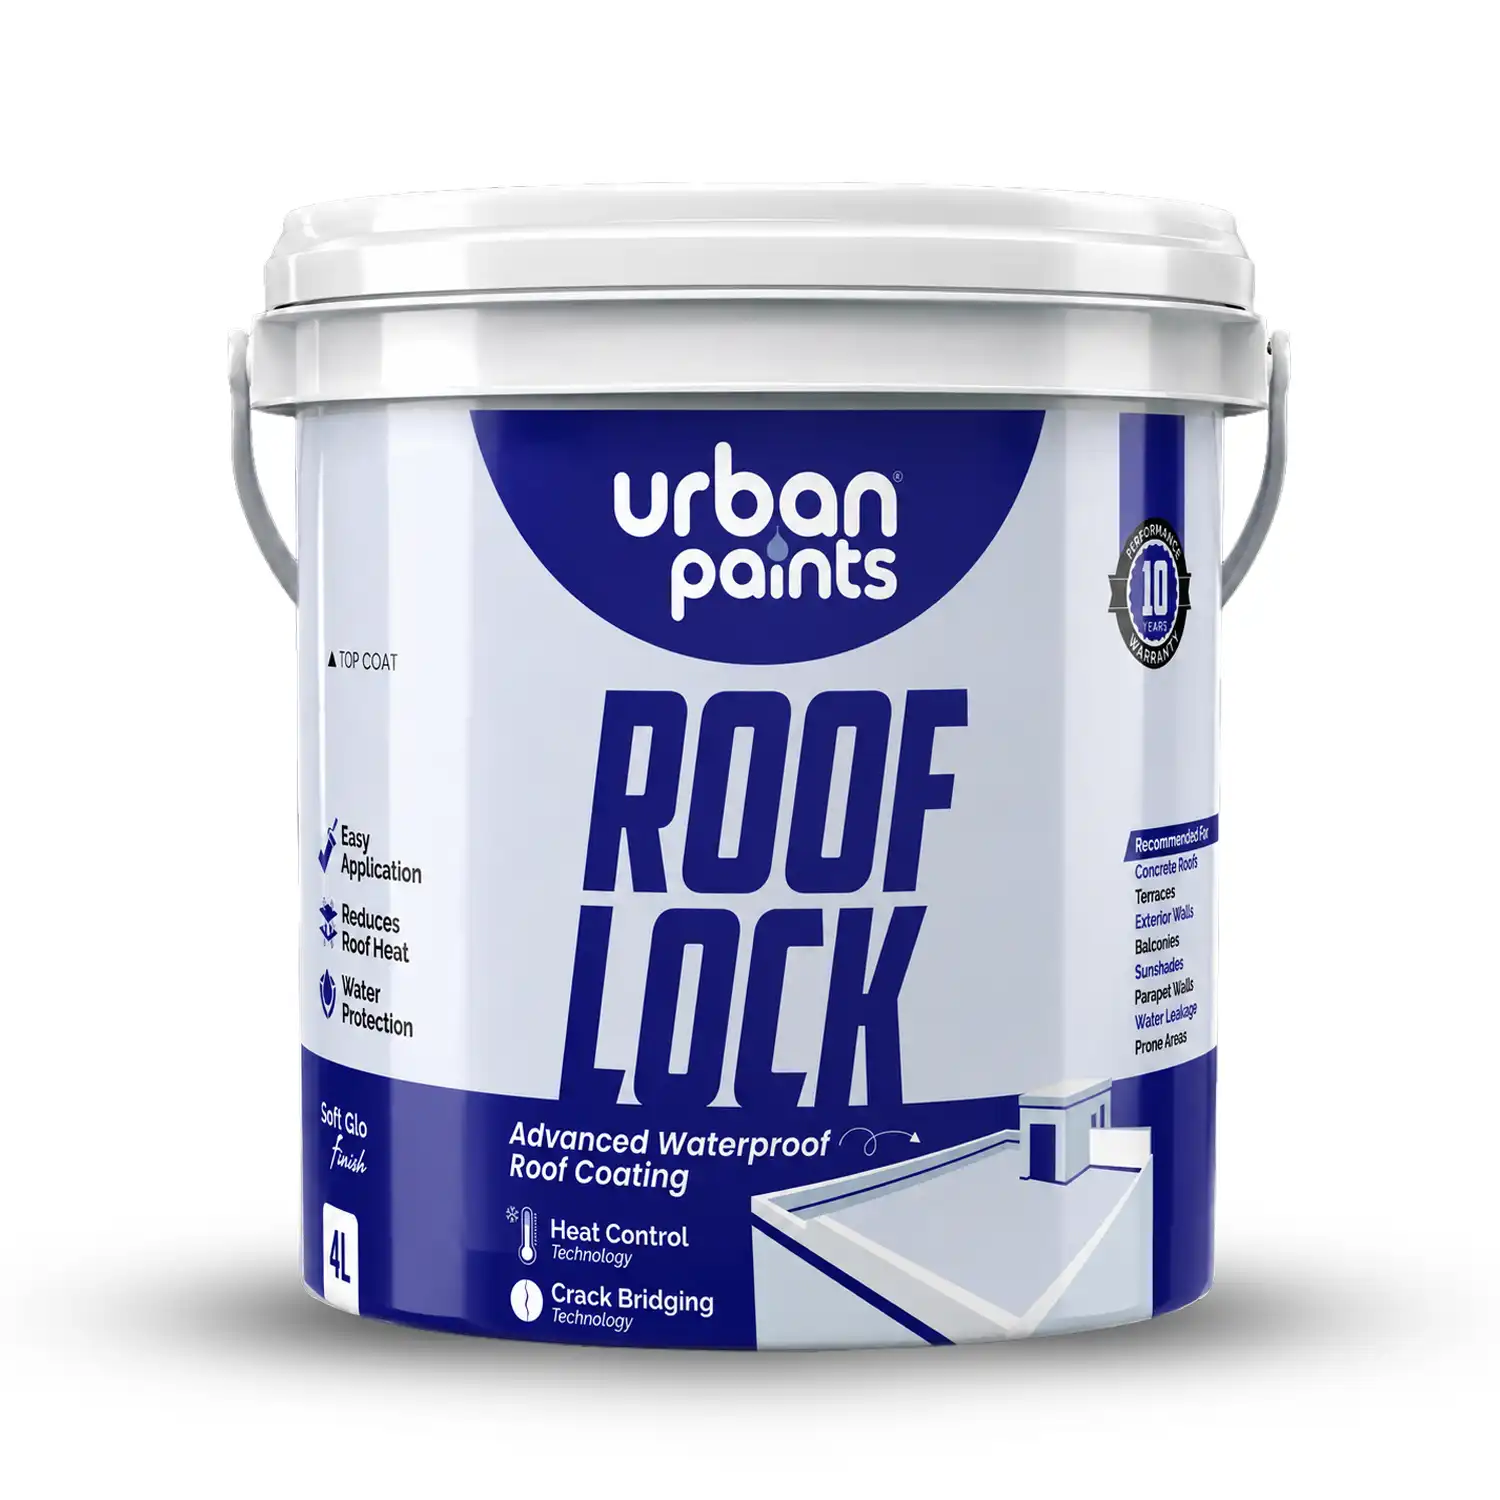
How to Waterproof Your Roof with Urban Paints Roof Lock
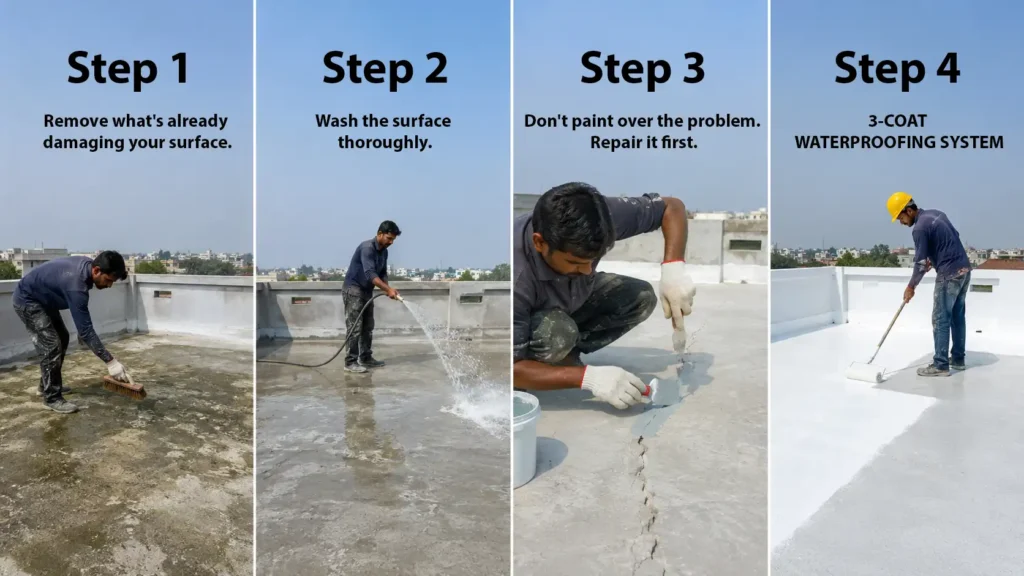
STEP 1 — CLEAN
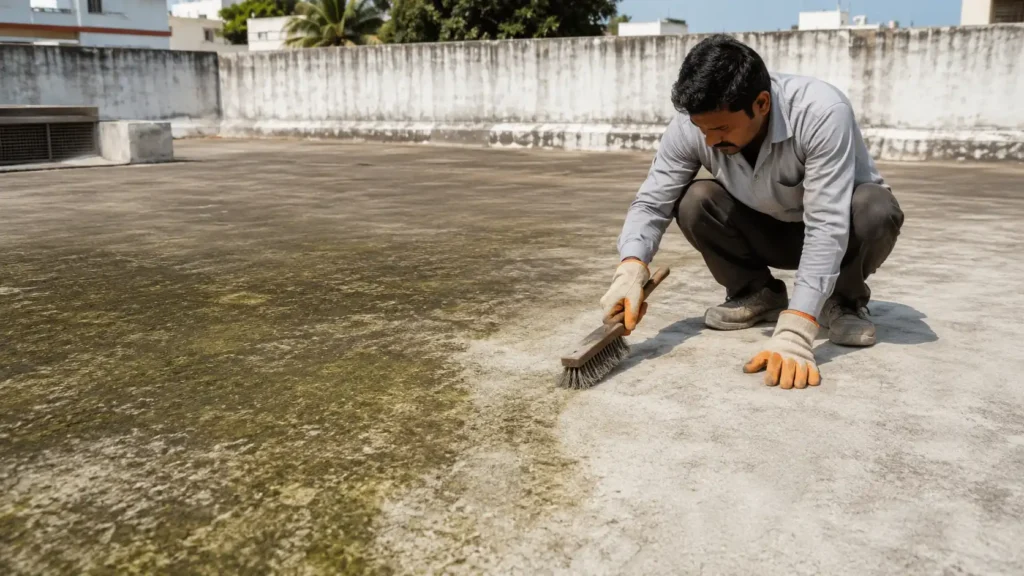
Remove what’s already damaging your surface.
Start with a heavy-duty wire brush.
Remove:
Algae → Moss → Dirt → Dust → Loose Particles → Flaking Material
The objective is simple:
Get the roof clean before you coat it.
A waterproof coating should not be used as a substitute for proper surface preparation.
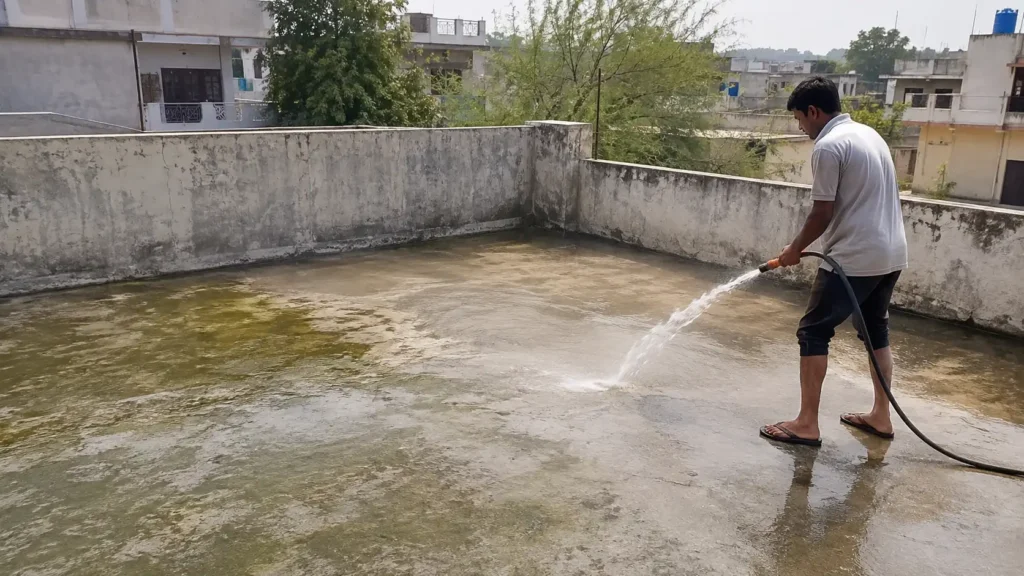
STEP 2 — WASH & DRY
Once the surface has been mechanically cleaned:
Wash the surface thoroughly.
Depending on the condition of the surface, use:
Water Wash OR Bio-Wash
Remove the remaining contaminants and allow the roof to dry properly.
Allow approximately 1 day for drying.
The actual drying time can vary with weather, humidity, ventilation and surface conditions.
Do not rush the next step onto an unsuitable wet surface.
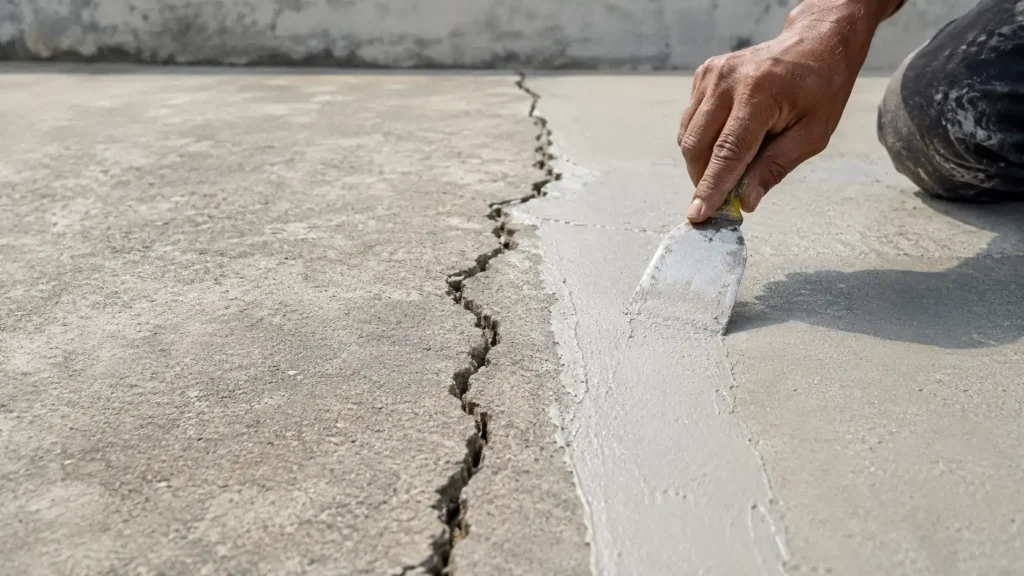
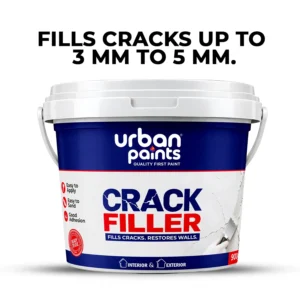
STEP 3 — FILL THE CRACKS
Don’t paint over the problem. Repair it first.
Inspect the dry surface for visible cracks.
Fill suitable cracks using an appropriate crack filler and level the repaired area.
Allow approximately 4–6 hours for the crack filler to hard dry.
Drying time may vary depending on temperature, humidity, crack depth, product and site conditions.
Once the repaired areas are properly dry and ready, proceed to coating.
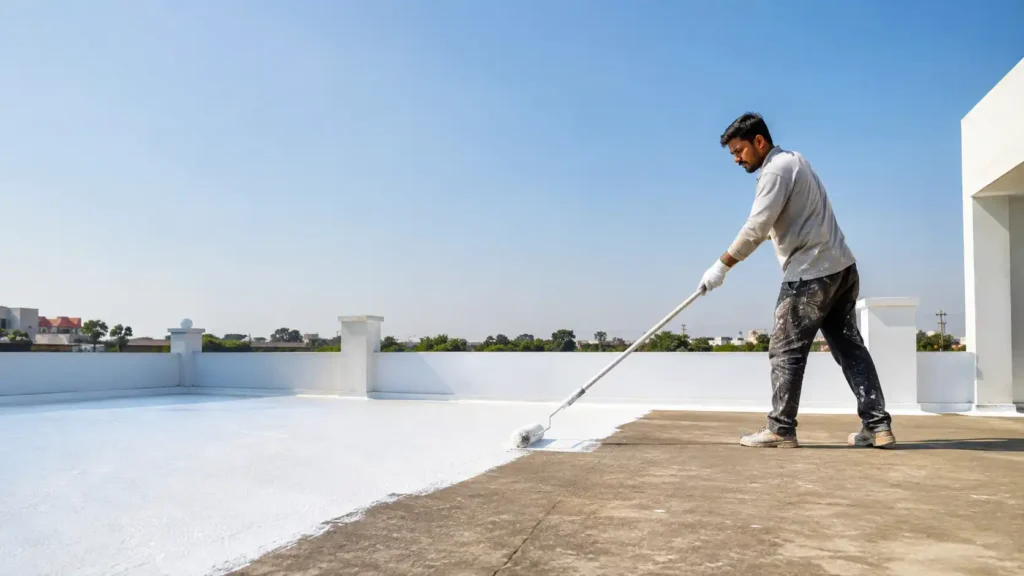
STEP 4 — APPLY URBAN PAINTS ROOF LOCK
3-COAT WATERPROOFING SYSTEM
This is where the roof gets its protective coating.
COAT 1 — HORIZONTAL
Apply the first coat using a roller in a horizontal direction.
For the first coat:
Up to 1 litre water can be used with 3 litres of Damp Proof.
Use only the recommended dilution and mix thoroughly.
COAT 2 — VERTICAL
After the first coat has adequately dried:
Apply the second coat in a vertical direction.
This cross-direction application helps achieve more uniform coverage.
IMPORTANT: Do NOT add water to the second coat.
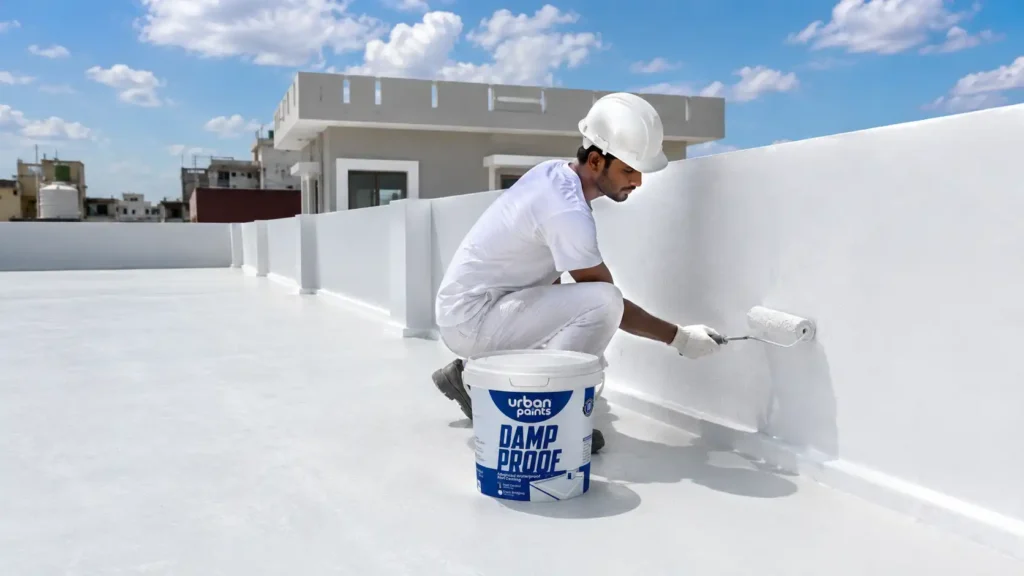
SIDE BOUNDARY & PARAPET WALL APPLICATION
Don’t leave the side boundaries unprotected.
Apply the same 3-coat Roof Lock system to suitable parapet walls, side boundaries and roof-to-wall junctions.
First Coat: Horizontal application
Second Coat: Vertical application
Third Coat: Final protective coat
Ensure the surface is properly clean, prepared and dry before application.
Roof + Side Boundaries = Complete Protection
This helps create a continuous waterproofing layer across the roof surface and vulnerable roof-to-wall areas.
Don’t leave the side boundaries unprotected.
Apply the same 3-coat Roof Lock system to suitable parapet walls, side boundaries and roof-to-wall junctions.
First Coat: Horizontal application
Second Coat: Vertical application
Third Coat: Final protective coat
Ensure the surface is properly clean, prepared and dry before application.
Roof + Side Boundaries = Complete Protection
This helps create a continuous waterproofing layer across the roof surface and vulnerable roof-to-wall areas.
| Feature | Details |
|---|---|
| Product | Urban Paints Roof Lock |
| Category | Advanced Waterproof Roof Coating |
| Primary Application | Roof & Terrace Waterproofing |
| Technology | Heat Control Technology |
| Technology | Crack Bridging Technology |
| Application Method | Roller / suitable brush |
| Coating System | 3 Coats |
| 1st Coat | Horizontal |
| 2nd Coat | Vertical |
| 3rd Coat | Final Protective Coat |
| First Coat Dilution | Up to 1L water : 3L Roof Lock |
| Second Coat | No water addition |
| Crack Filler Drying | Approx. 4–6 hours* |
| Final Coat Interval | Approx. 6–7 hours* |
| Suitable Areas | Roofs, terraces, parapets, balconies, sunshades & suitable exterior surfaces |
| Performance Warranty | 10 Years* |
Reviews
There are no reviews yet.